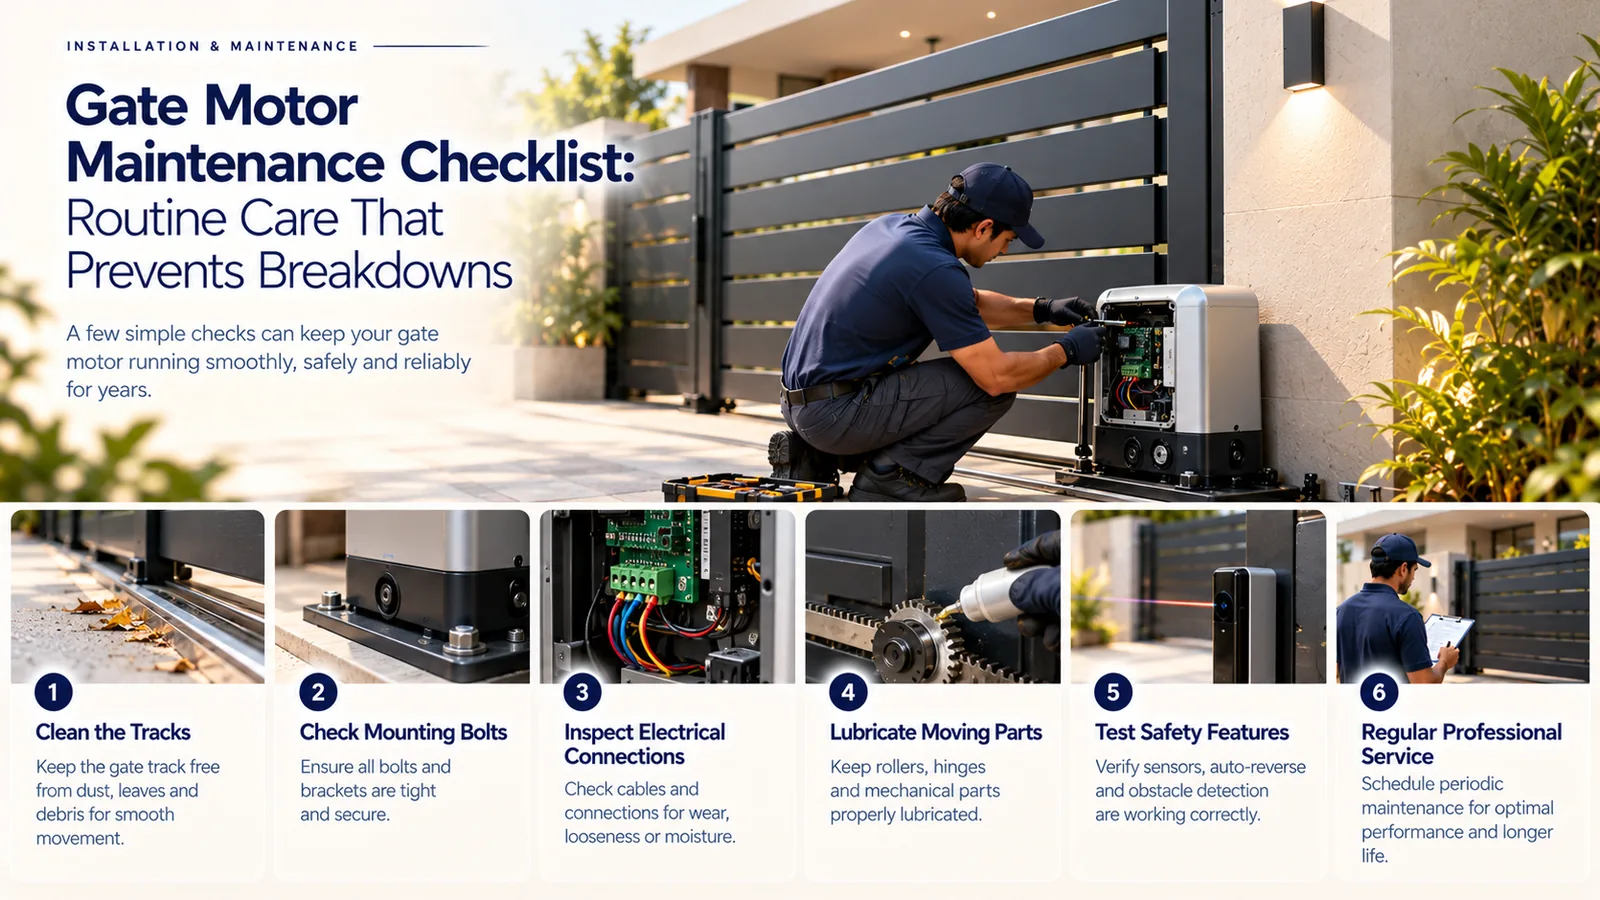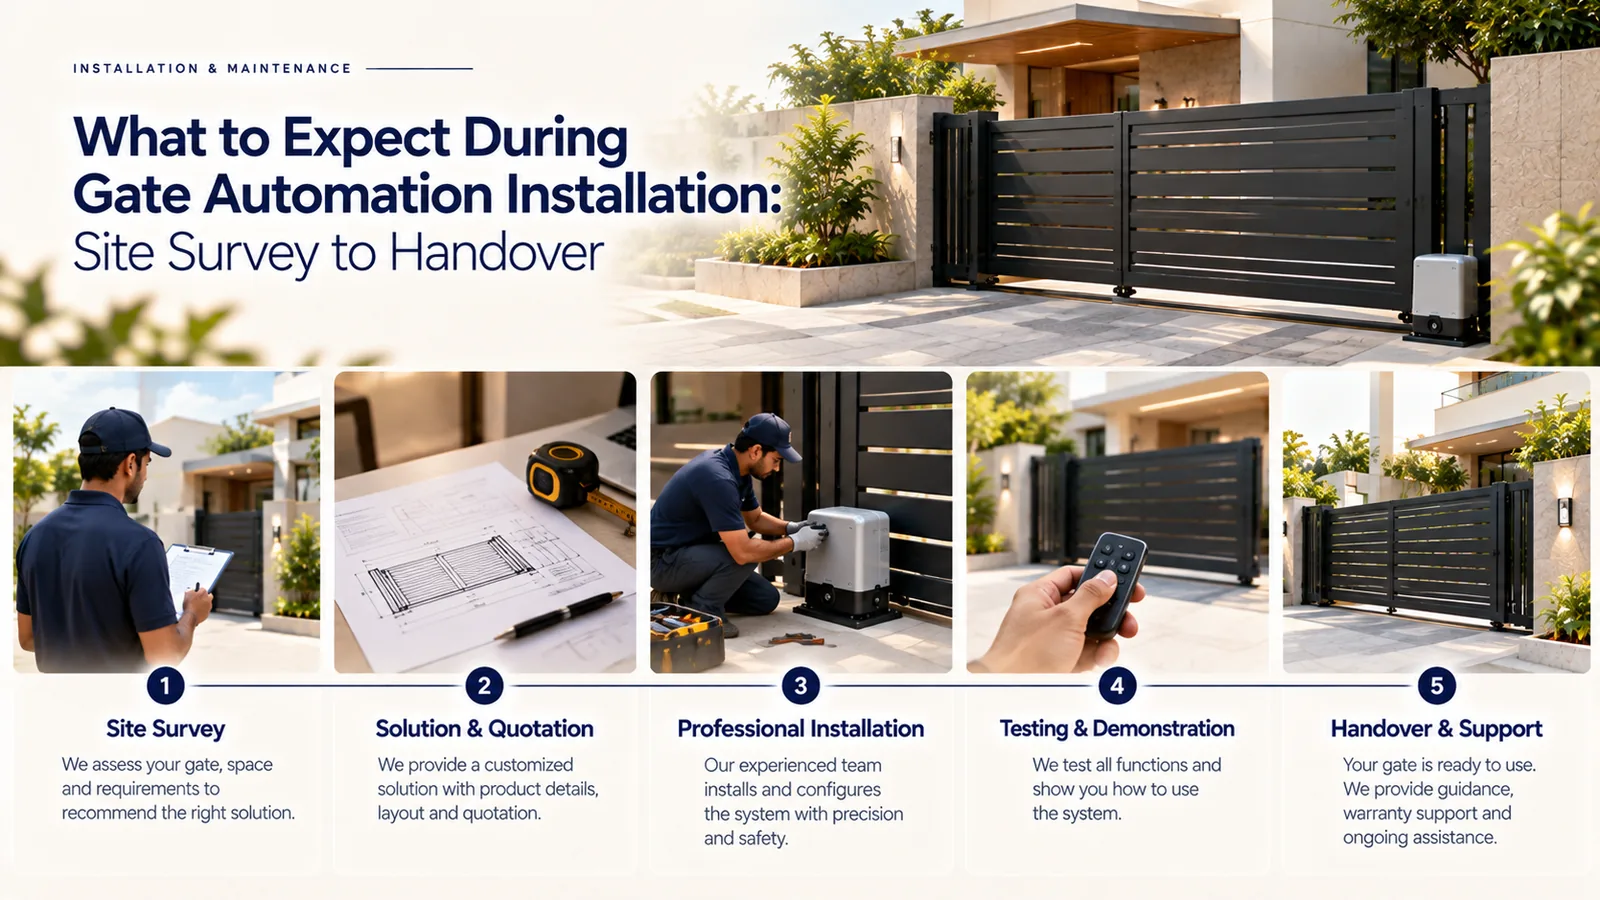
Gate automation installation is usually a short job on site, but the result depends on what happens before the motor ever arrives. A good installation moves through five stages: a site survey, design and planning, preparation of the gate and civil work, mounting and wiring, and finally testing and handover with training for everyone in the house.
This guide walks through each stage so you know what will happen, what you may need to arrange, and which questions to ask before the installer leaves your gate.
Stage 1: The Site Survey
The survey is where the right motor is chosen. A technician looks at the gate itself, the ground it moves over, and the space around it. In Tamil Nadu, this visit also checks how the site behaves in the monsoon, because a sliding gate track or an underground swing motor that sits in standing water will give trouble every year.
- Gate type, size and approximate weight: sliding, swing, foldable or retractable
- Condition of hinges, rollers, track and gate frame, since a motor cannot fix a gate that drags or sags
- Space available beside the gate for the sliding leaf or behind it for the swing arc
- Ground level and drainage at the gate, especially on low-lying plots that flood in heavy rain
- Distance to the nearest power point and the route for cables and conduits
- How often the gate will be used, which matters for apartments and commercial entrances
- Whether you want access options such as RFID tags, a keypad or app control
Stage 2: Design, Planning and the Quote
After the survey, you should get a clear proposal: which motor and drive type, which safety accessories, what control options, and what civil or electrical preparation is needed. This is also when the installer explains backup options for power cuts, such as a battery backup kit for the motor or connection to your home inverter.
Questions worth asking at this stage
- Does the gate need repair or reinforcement before automation?
- Which safety devices are included, such as photocells and obstacle detection?
- How will the gate be opened manually if the motor or power fails?
- What will I need to arrange: a dedicated power point, conduit work or a concrete base?
Stage 3: Preparing the Gate and Site
Most delays happen here. For a sliding gate, the track must be level and straight and the gate must roll freely by hand. A concrete base is usually cast for the motor, raised a little above ground so rainwater does not collect around it. For a swing gate, the pillars must be strong enough to hold the motor brackets, and hinges must allow the leaf to swing without binding.
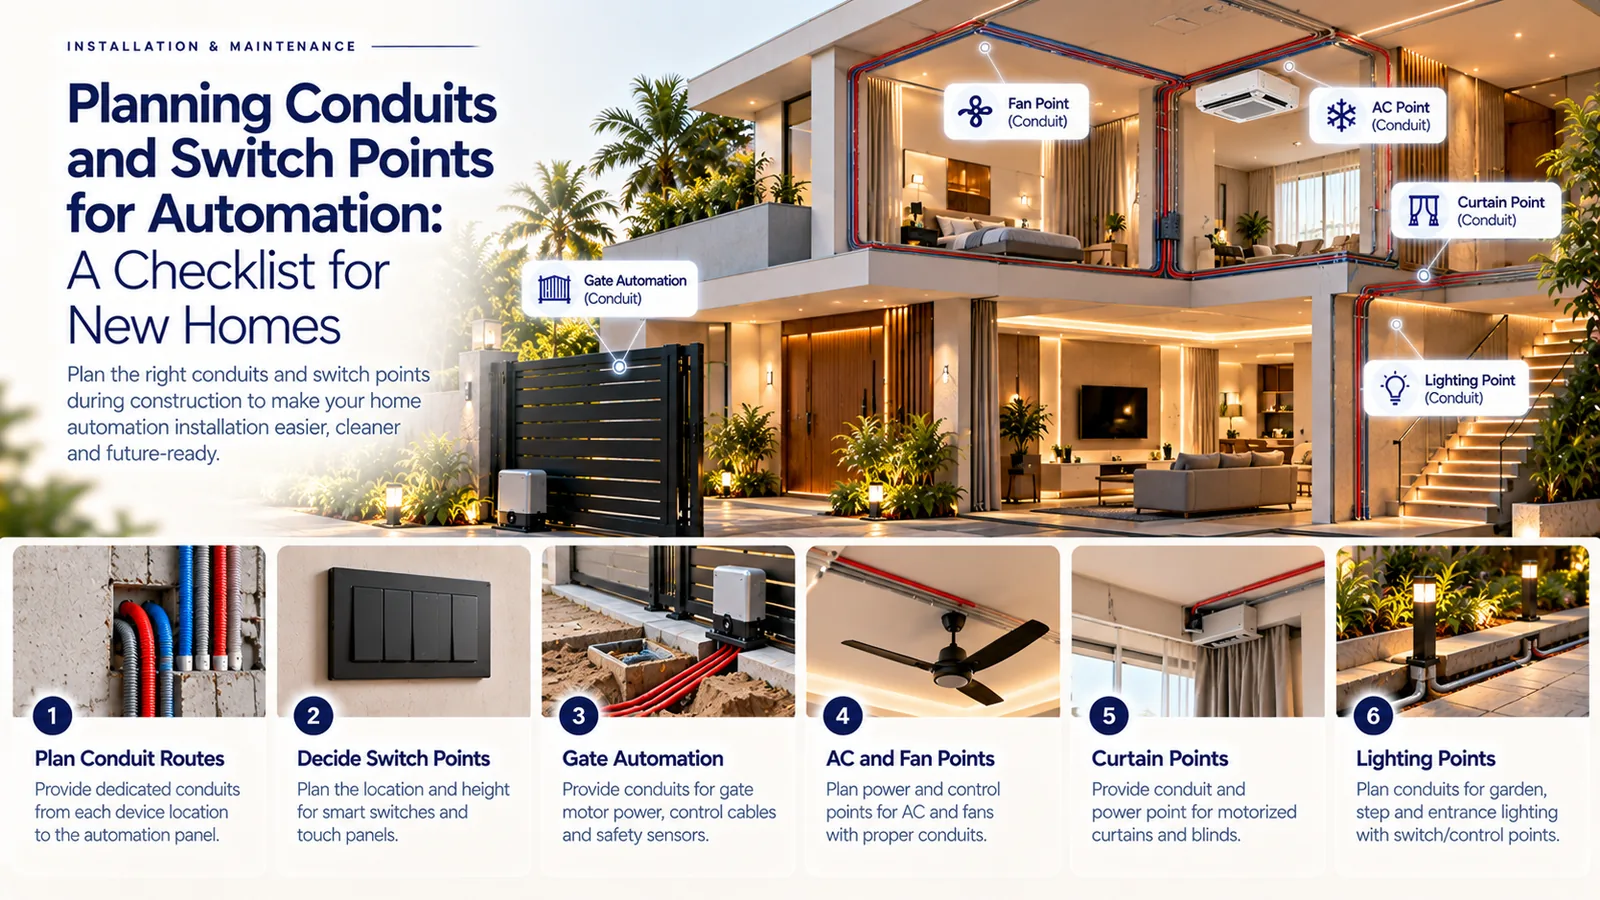
An electrician lays a dedicated supply to the gate area, ideally with its own breaker, and conduits for control cables to photocells, a flashing lamp or a keypad. In new construction, this is far easier before the driveway is paved.
Stage 4: Gate Automation Installation Day
On the day, the team mounts the motor and drive, fits the rack for a sliding gate or the arms for a swing gate, installs limit switches or sets electronic limits, and connects safety devices. The control board is wired, the remote controls are paired, and any access devices are set up.
- 1Mount the motor on its base or brackets and align it with the gate
- 2Fit the rack (sliding) or operator arms (swing) and check engagement along the full travel
- 3Set the open and close limits so the gate stops exactly where it should
- 4Install photocells across the opening and connect any flashing lamp
- 5Program force sensitivity, speed and auto-close timing
- 6Pair remotes, RFID readers, keypads or app control as planned
- 7Tidy cables inside conduits and seal entry points against water and insects
Stage 5: Testing, Training and Handover
Testing is the step you should watch. The installer should run the gate through many full cycles, test that it stops and reverses when the photocell beam is broken, and check that obstacle detection works by gently resisting the gate. The manual release should be demonstrated in front of you.
| Check at handover | Why it matters | |
|---|---|---|
| Photocell test | Gate stops or reverses when beam is blocked | Protects children, pets and vehicles in the opening |
| Obstacle detection | Gate reverses on resistance | Prevents crushing or damage if something is in the way |
| Manual release | You open the gate yourself using the release key | You need this during long power cuts or a fault |
| Remotes and access | Every remote and tag tested | Avoids surprises when family members use it |
| Auto-close setting | Timer agreed with you | Balances convenience against security |
Ask everyone who drives in and out, including drivers or security staff, to be present for the training. Keep the release key somewhere known and accessible, not inside the car that is stuck outside the gate.
How Sensor Handles Gate Automation Installation
Sensor Home Automation follows this same sequence: a free consultation and site visit, design and planning, installation by our own team, then testing, training and handover, followed by ongoing support and maintenance. We install swing, sliding, foldable and retractable gate automation as well as boom barriers and RFID access, for homes, villas, apartments and businesses across Tamil Nadu from our Chennai head office and Salem branch. Call +91 95975 75785 to book a site visit.
Frequently asked questions
How long does gate automation installation take?
If the gate is in good condition and power and conduits are ready, the on-site work is usually completed within a day. Repairs to the gate, a new concrete base or fresh electrical work can add time, which the site survey will identify in advance.
Do I need to prepare anything before the installer arrives?
Make sure the gate moves freely by hand and that there is clear access to the work area. If the survey recommended a dedicated power point or conduit work, have that completed first so installation is not delayed.
Can an existing old gate be automated?
Often yes, provided the frame, hinges, rollers and track are sound. The site survey checks this, and minor repairs or realignment are usually recommended before fitting a motor.
What should I check before signing off the gate automation installation?
Watch the gate cycle several times, confirm the photocells and obstacle detection make it stop or reverse, and operate the manual release yourself. Also check every remote and access tag before the team leaves.
Related service: Support — see how Sensor plans, installs and supports it across Chennai, Salem and Tamil Nadu.